Showing posts sorted by relevance for query fabric stamping. Sort by date Show all posts

September 15, 2011

Washable Fabric Stamping


Stamping on fabric is so much fun, and with the holidays coming up I know you will have tons of ideas

I had this set of white vintage napkins just screaming to be stamped


Now, if you are going to stamp on fabric, and you want it to be washable, you will need an ink pad made for fabric stamping


The ink pads I used are from Joggles, a fabulous online craft store


I used VersaCraft (chocolate and black) and Palette (Cognac)... they run $6-$8
These ink pads are multipurpose and can be used on fabric, paper, wood, clay, etc.

I love this chandelier doily and now I don't have to worry about washing it


Before I stamp on fabrics, I machine wash and dry them; this allows for shrinking and removes any sizing

I apply ink to the stamp before every stamping. I also do a practice run on a scrap of fabric because (And this is the scary part) once I stamp, that's it, no wiping it off and trying again!


After I stamp my fabric, I leave it dry for 2 hours and then heat set it (No steam)


I threw this little tote in the washer and dryer after stamping and it came out perfect!


In the following picture are two strips of sample stamping.  After I stamped the top strip, I let it dry for 2 hours then heat set it before machine washing and drying it.  The one on the bottom was not washed...Yea! There is no difference, no fading!


Even when I tea stained, washed, and dried this little tote...


...It survived just fine


Shoes on a shoe bag..I crack myself up!


The fabric I used on all of my projects is also from Joggles.   It's a luscious 100% cotton fabric called Southern Belle

I had a lot of questions about fabric stamping when I did my post on  "Stamping candles"


When I am stamping on something that won't be washed (Like the strips of fabric tied around my candles), I use regular stamp pads.  I stamp them, let them dry over night, and then heat set.  Be sure to check them for smudging as all ink pads are not the same. 


 I've decided as I replace ink pads I'll only buy "all-purpose" inks that work on fabrics.  This way, I won't have to worry about what 
pad to use with what project.


OK, there you have it...Stamp and wash!

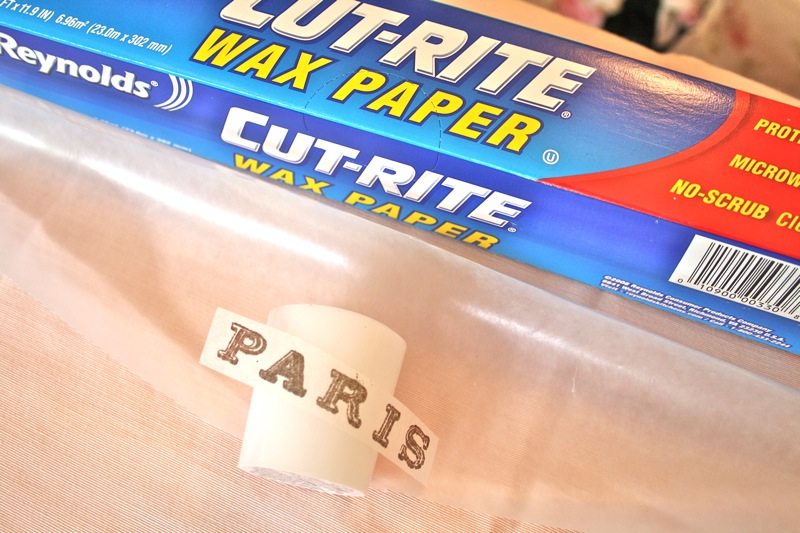
I know you will think if tons of projects!  The Paris napkins are my favorite, oh, but I like the doily too...and the tote bag...and the shoe bag........ Have fun!
Happy Creating!

The ink pads and fabric were compliments of Joggles, but the opinions are all mine!

March 3, 2015

Vintage Thread Spools

I am working on getting merchandise ready for my booth at the Polka Dot Flea


Whenever I can, I buy old thread spools


Of course I can't sell empty spools......So.....I tore some muslin strips and did a little "Paris" stamping


I always use ink that is made for fabric stamping since it is washable


You can see my post HERE on fabric stamping


 All ready to sell at the Polka Dot Flea


I priced them at $6 and $12

I've been a busy girl...Working on the Polka Dot Flea everyday...On my next post, I'll show you the ticket booth I am working on.


I'm also in the middle of a master bath update.....Goodness, I'm a glutton for punishment lol!

 Happy Creating!
Carol


August 11, 2011

How to Stamp Candles


Have you tried stamping candles, it's inexpensive and so easy!


This certainly is not a new technique, it has been around forever

Your first step is to grab your favorite stamps.


I ordered these Paris stamps online from Stampin D Amour, they have luscious vintage stamps.  When I let them know I was going to link to their site they graciously offered to include a free stamp with every order before 8/31/11 Just mention you're my friend!


Now grab some regular tissue paper, the kind used for wrapping presents.  Stamp your tissue paper using a light hand, if you press to hard your stamped impression will get muddy.


You can use any ink, just test it because some will run on the tissue paper.  Now cut out your stamped images close to the graphic


Using regular wax paper, cut a strip


Then wrap it around your candle tight with the wax side towards your candle and the tissue paper graphic underneath


Now use either a heat tool used for paper crafts or a hair dryer and blow hot air over the wax paper that has the graphics under it.


Peel off the wax paper and you have a stamped candle that won't rub off, how cool is that!


This process works because the wax from the wax paper melts into the tissue paper and blends it into the candle


Here's some tips from my trials and errors


The wax paper can be used over and over, just use a new spot each time


If you do not have the wax side of the paper towards the candle you will know right away because the tissue graphic will not stick to the candle


When I cut my strip of wax paper I mark it with a magic marker so I know which side is the wax side.  It is easier to tell when it is coming off the roll than when you have used it a few times


When the graphic is stuck to the candle you will know because you will no longer see the tissue paper edges through the waxed paper


Do not heat for to long and melt your candle, you just want to melt the wax off the wax paper


You can lift up the wax paper and check as often as you like, once you have started the heating process the graphic will not move


You can color the tissue paper before you melt it down, say if you want to color in a flower


I put a garden glove on to hold the wax paper when I am heating it because the heat from the hair dryer can get a little warm


I also did some stamping on fabric, if you're interested in some fabric stamping tips let me know and I will cover it in another post


"What the heck is that"?  


Well, I made the candles to sell in my booth and I was trying to think of a way to display them........ I lost my mind and had a BIRD brain idea, you'll have to wait until my next post to see what it is.....This is so crazy I am almost afraid to show you!


Happy Creating!


Carol


Linking up with
My Romantic Home
WOW Savvy Southern Style  
DIY by Design


May 14, 2012

French Market Bags

Oh, we love all things French!  I thought I would show you my latest batch of French Market bags


I did a tutorial on making them Here.  They're so easy to make and can even be done with no sewing.


I Originally got this idea from Sissies Shabby Cottage........Take a look at her gorgeous bags!

These were made with vintage rubber stamps I got at auction


I used fabric stamping ink so the bags can be washed with no worry of fading


I love this graphic I got from a site called Free Vintage Digi Stamps loaded with tons of free fun graphics, HERE is the direct link to the one I used


The one on the left was made with T Shirt Transfer paper, I got the vintage look by taking the transfer paper off after just a short ironing (I love the vintage look).   The one on the right I printed on a fabric sheet called Quick Fuse then cut out the image and ironed it on


Here's another comparison, on the left is the quick fuse, on the right, T Shirt transfer paper.  The dancer is a graphic from Graphics Fairy


You'll have so much fun making these


Hang with me while I work on a blog face lift.  I have not done a thing to my blog since I started 2 years ago (I hate change) but, it was time (My son told me) to freshen it up a little......That noise you hear....It's me dragging my feet.


Happy Creating!
Carol


I am joining
 Coastal Charm Nifty Thrifty Tuesday


June 6, 2013

Altering Vintage Doilies

Altering Vintage Doilies


I've been saving vintage doilies to go on an altering marathon


I often find doilies that are stained and have holes in them 


Time to give them new life

 The full tutorial on how to alter doilies is HERE.  I've previously altered them not only by changing up the center fabric but, by stamping them with rubber stamps or printing a graphic on the material before I sew it in the center, you can see those doilies HERE


You can use vintage or new fabric, it's a great way to use up small fabric scraps


This is more like a table topper...Huge!


This was a sweet rose fabric I purchased from Carousel Fabrics


So, there ya go, don't throw out those ripped or stained doilies, give them new life!

When I showed the last batch I altered, I got many emails about purchasing them and I felt bad because I had taken them all to my antiques booth.......So, this time I put a few in my online store
The Polka Dot Closet.
  
Have a great weekend!
  

Happy Creating!
Carol