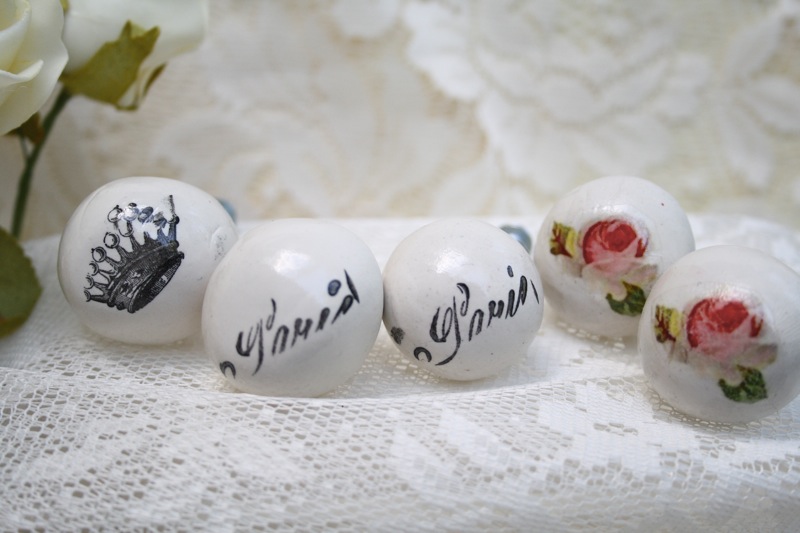
When I transformed my sweet linen cabinet I needed new knobs, so I thought I would try my hand at making my own...It worked!
I love the way the knobs look on my cabinet
This is how I made them, now don't be intimidated by all the steps, it really is easy, I just like to make sure you have all of the details
I used polymer clay that you bake to harden. This was a huge box but, you can get a small block.
I rolled the clay into balls, you may be able to eyeball the size to get them all the same. I used my old Weight Watchers scale to measure out 1oz hunks of clay
Then rolled them into balls, just like rolling meatballs!
Now, you don't have to, but I decided I wanted my knobs to set off the cabinet a little, so I rolled smaller balls and put them on the big balls then smashed them down a little
I bought screws and nuts from the hardware store. #8-32 screws are the size you buy with knobs, be sure to buy #8-32 nuts to fit the screws. I got 1-1/4 inch length which will fit on most cabinets. You can buy them separate or together in a box.
Now, make a hole straight into the clay. I used a food skewer, you could use a paint brush handle, just make sure it is larger than the diameter of the screw. I made the hole deep so the screw could go deeper if the cabinet wood was thin
Now, take your nut and put it over the hole
I used a crochet hook, but you could use a paint brush handle to clear any clay that may have blocked the opening when you pushed the screw in
Then using the paint brush handle roll some of the clay back over the screw to make sure it stays in
Even doing that I had one knob where the screw came out, I just used a little E-6000 glue on the outside edge of the nut, let it dry and then it stayed in
Now, bake your clay according to the package directions, I baked mine at 270 degrees for 25 minutes, but since all ovens are different do a test run on one.
When I did the tutorial on making clay roses a reader sent me a picture of a pan of burnt roses... I'm just saying, do a test on just one so you don't burn a whole pan of knobs
Let it cool and your done!!!!
Honestly, if you can roll a meatball you can make a knob!
The best part is decorating your knob and making it just your style
Happy Creating!