December 1, 2011

The Little Green Side Table With Personality


This is the little side table that most people would pass up, but I know you see the potential!


Oh, look at the cute features before..... The scalloped edges, the shelves and drawer.  Most people would see an old scratched up side table.


I had to sand and use Zinsser primer so the stain would not bleed through 


I used Heirloom white paint and a green clearance paint from Hobby Lobby

And finished off the drawer with a Laura Ashley wallpaper


I switched up the knobs, I'll save the original knobs for another project


I sanded the edges to shabby it up a little and put it in my booth at Orange Tree for $45


I loves it!... And I love you guy's, thank you for always taking the time to leave a kind word

Happy Creating!


November 29, 2011

Sending Christmas Post Cards and Ladies Champagne Brunch Invites


For the last few years I have sent Christmas Post Cards instead of regular cards.  I do it for a few reasons.  I can print them out with a short Christmas letter (No one wants to read one of those long letters) on the front.  And a very short, yet personal note to the recipient on the back, plus I save money on postage!


I print 4 to a sheet of card stock

I blurred out names and details so the blog stalking boggie men would not get me!


I use a postcard rubber stamp on the back, but you could just draw a line to divide where you are going to write a note and the address  


Then my personal note...Lord, I have the worst handwriting in the world!

I have 45 Cards ready to be mailed!  I feel like super women!!

I also printed and addressed 25 post card invites to my annual 

"Ladies only Champagne Holiday brunch"


This is way to fun!  Every year, my lady friends come over after church, dressed in their Sunday best and we have brunch, an ornament exchange, and tons of chit chat....it's a whirlwind 2 hours.   I started having it on Sundays years ago because everyone seemed to have so many commitments on Friday and Saturday during the Christmas season. It's a great way to stay connected with my girlfriends from all walks of life, it might be the only time we have been able to get together all year!


 Do you host any parties over the Holidays?

Happy Creating!
Carol


November 26, 2011

Vintage Book Candle Holder


I have so many old books so I thought....Hum, I wonder if I could make them into candles holders?  This might look good for holiday decorating?


I started by tracing around my candles


Then I clamped the book together leaving the back jacket out of the mix so I could cut through the pages, then glue the back cover to hold the candles in place


I used my jigsaw for the big hole and these red thingys on my drill to cut the smaller holes


Don't worry if they are not exactly perfect holes because you are going to cover them with sheet music or scrap paper


Now I mod podged around all of the pages and the back cover and used the old brick trick and let it dry


If you have a great looking book you could leave the book jacket on, but since mine was an old math book I pulled it off.   Then brought out my stamps and walnut ink and mod podged on a new top page, all of the details are on my post altering books


I think I'll do another one with a Christmas Theme


I put lace around the candles and tied a cord around the book


I know you will come up with great ways to alter this simple project and make it your own....I'm just the idea thrower!

Happy Creating!

November 22, 2011

The Yellow Box & Giving Thanks


This is a World War two ammunitions box that needed a little love


I started with a bright yellow box


When I sanded it I found blue paint under the yellow


I darkened it up a little with some brown gel stain


And added a water slide decal with a graphics from the Graphics Fairy.  I love decals because you can see the wood grain right through them.  


I priced it at $25 and put it my booth at Orange Tree Antiques

If you are an Orlando local, check out the Thanksgiving sale this weekend.  I will have 25% off in my booth


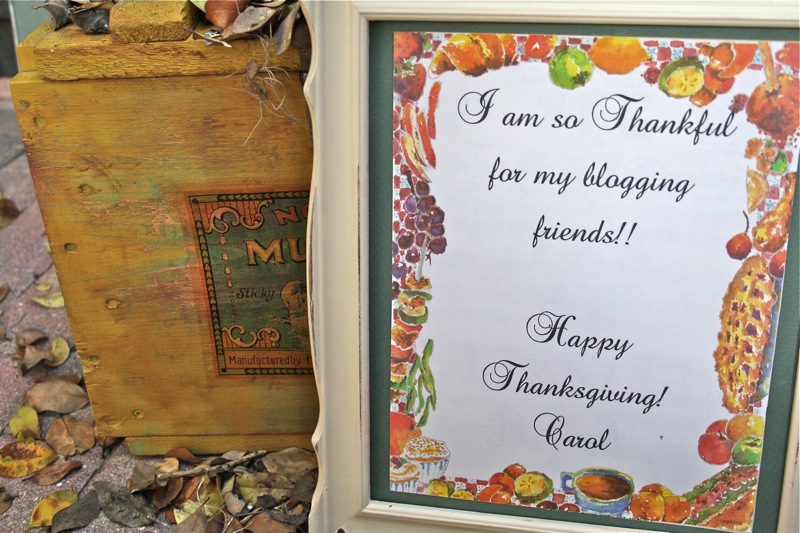
You're the best, you have enriched my life and I am so happy to be a member of this diverse and talented community.  Thank you for your comments and continued support.

Happy Creating!
Carol

November 18, 2011

How To Make a Hat Stand


This is a fun and easy project!  

Turning a styrofoam head into a hat stand


I started with a lamp base and a Styrofoam head used in a store for hat displays or wig holders


I got  the styrofoam head from Barr Display, they cost $12.00, this is the same place I got my dress form


I Covered the head with tissue paper from 7 Gypsies


I cut the tissue paper into squares and put the Mod Podge onto the head first and then laid the tissue on.  If you try to put the tissue down and the Mod Podge over it the tissue paper will tear 


I used some lace trim off an old lamp, ribbon and fan folded sheet music 


That I hot glued around the bottom


I topped her off with a matching fascinator


She will be great for displaying hats in my booth.  I would love to cover one with a flowered tissue paper, or even pretty flowered napkins...stay tuned!


My Mom thinks she looks gruesome, OK, next time I will cover her in floral paper LOL!  I'm just throwing out the idea not the paper

Happy Creating!
Carol